Home Work Gallery About Contact

Preparation Guide

Get your home
photo-ready.

A simple room by room guide to help you get your home looking its absolute best before our team arrives.

Discover the guide

Before the shoot

A little preparation
goes a long way.

First impressions are everything. The finest results begin long before we arrive. There are a few simple things you can do beforehand that make an enormous difference to the final result.

Use this room by room guide to get your home looking its very best. At the bottom you'll find a full interactive checklist you can tick off ahead of your shoot.

01 — Front Exterior

First Impressions
Start Outside.

  • Remove all objects blocking the front of the property, including bins, vehicles, bicycles and any garden equipment from the driveway and entrance.

  • Cut the grass and sweep or powerwash the driveway if needed.

  • Consider adding potted plants or flowers to the entrance to add colour and life.

  • Check that all outdoor lights and bulbs are working. Exterior lighting makes a significant difference, particularly in evening and twilight shoots.
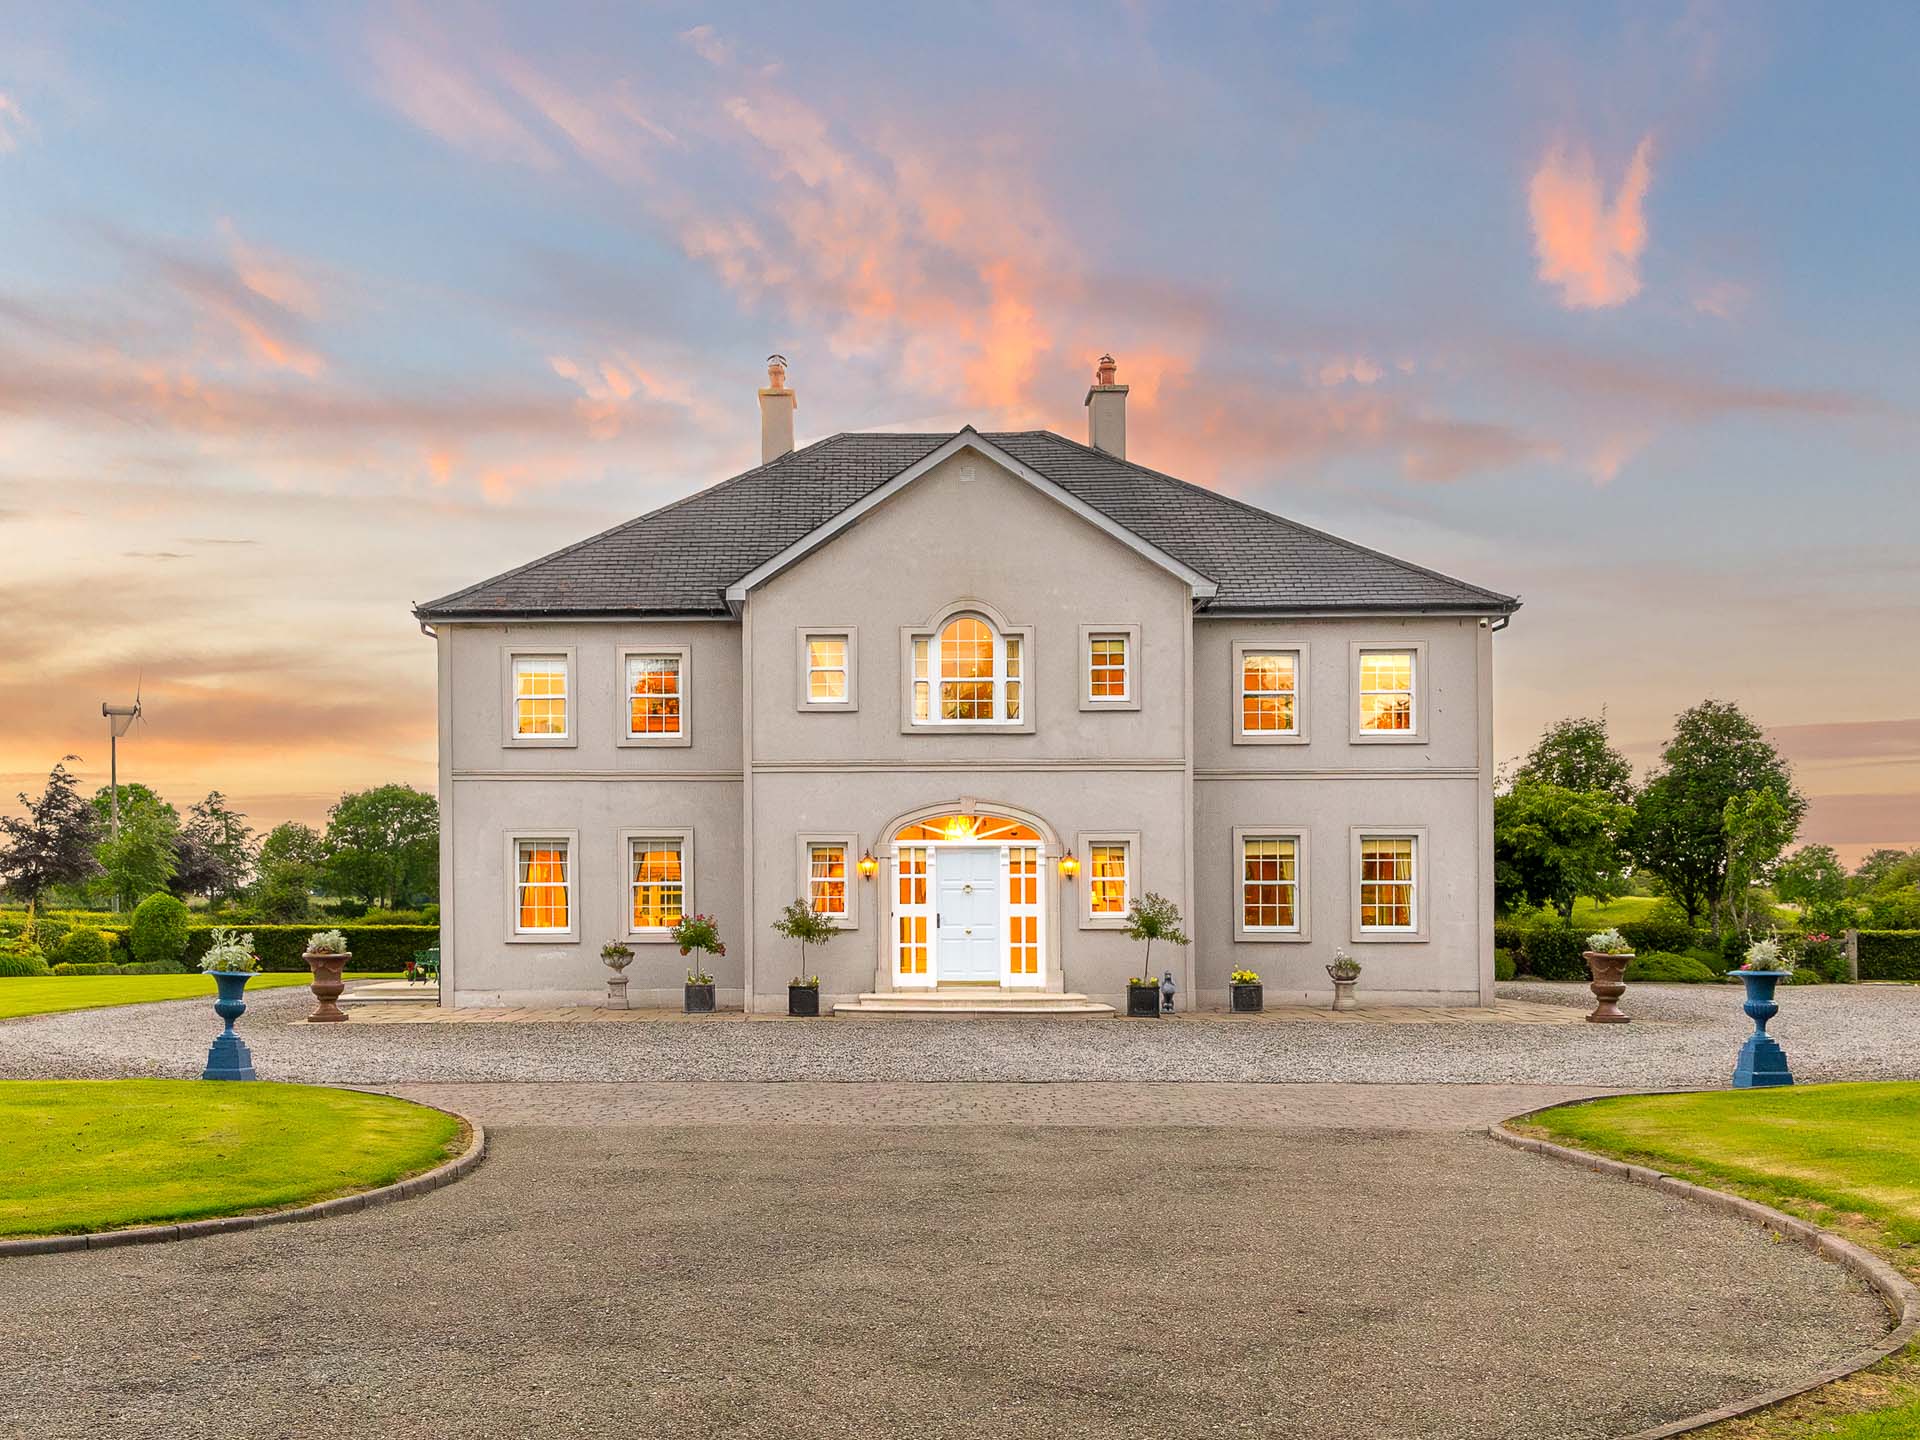
Exterior Exterior
02 — General Interior Preparation

A Clean Canvas
for Every Room.

  • Ensure all lightbulbs are working throughout the property. We work with both natural light and interior light sources. Where possible, white or cool-toned bulbs photograph better than warm yellow ones.

  • Remove any excess furniture that makes rooms feel smaller or cluttered.

  • Remove all children's toys and pet items from main living areas.

  • Declutter mantelpieces and shelves. A few well-placed items look far better than many.

  • Consider adding fresh flowers or a potted plant to a living area or kitchen. A small detail that adds warmth and life to any room.

  • Ensure all blinds are raised and curtains fully opened throughout the property. Maximising natural light is one of the most important things you can do before a shoot.

  • Don't worry about family photos, names or personal artwork on walls. We will carefully blur or remove any identifying details in post-production.

Interior Interior

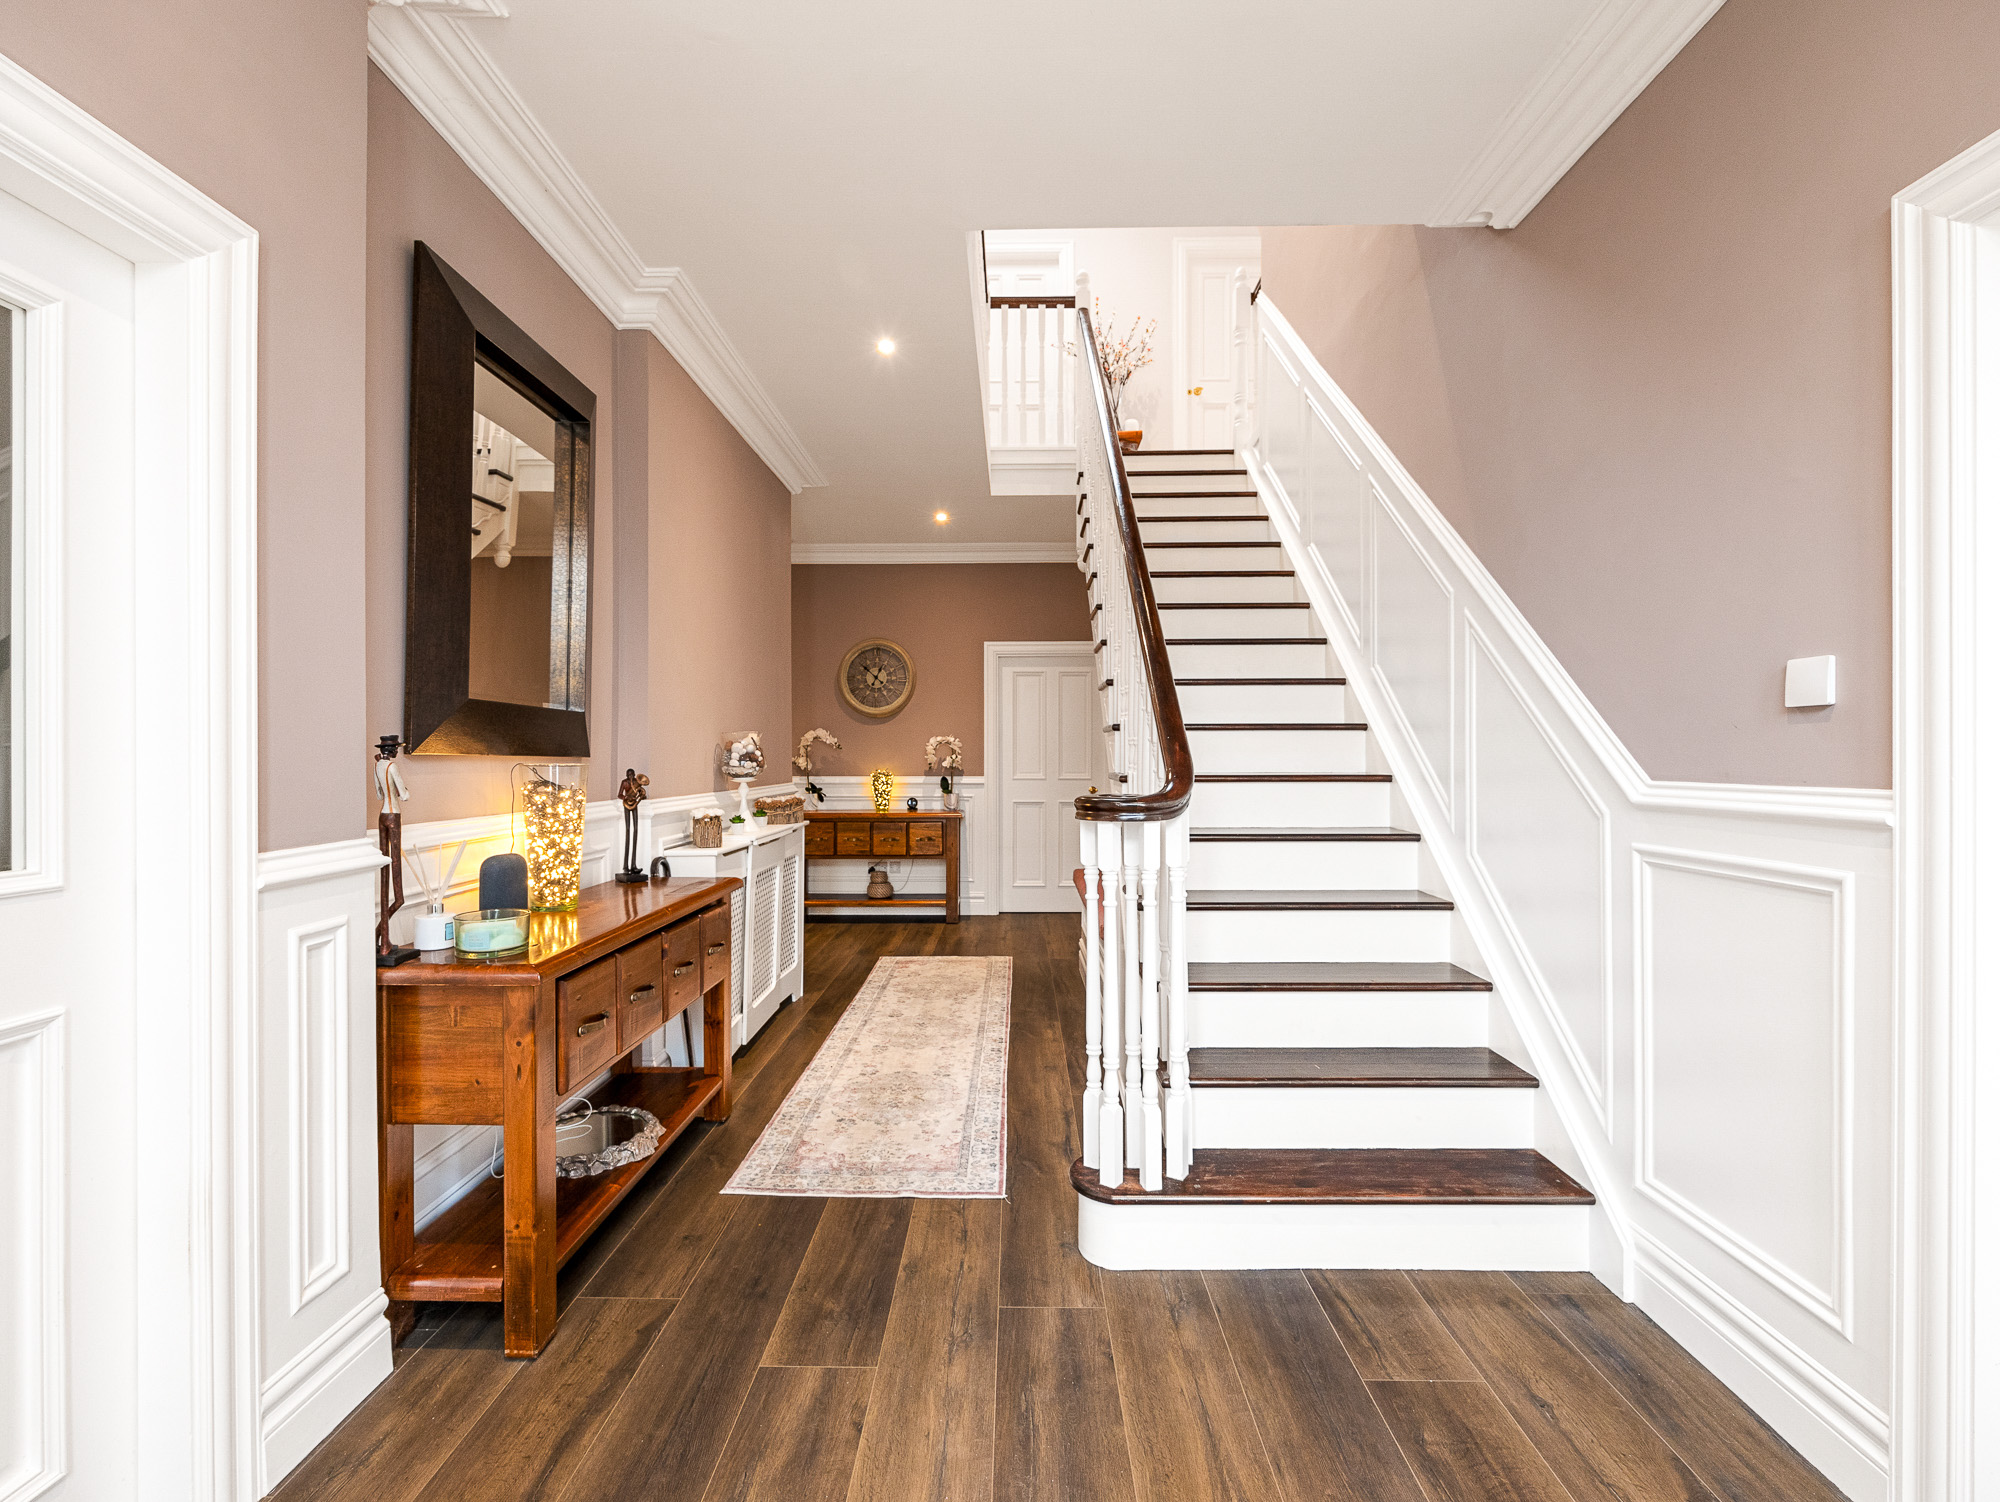
03 — Entrance Hall

Set the Tone
from Step One.

  • Remove all shoes, coats and bags from the hallway. Hang them out of sight or store temporarily in a room not being photographed.

  • Clear any console tables or hall tables, leaving only one or two considered decorative items.

  • Remove any worn or functional doormats. A clean entrance sets the tone immediately.

Entrance Hall Entrance Hall

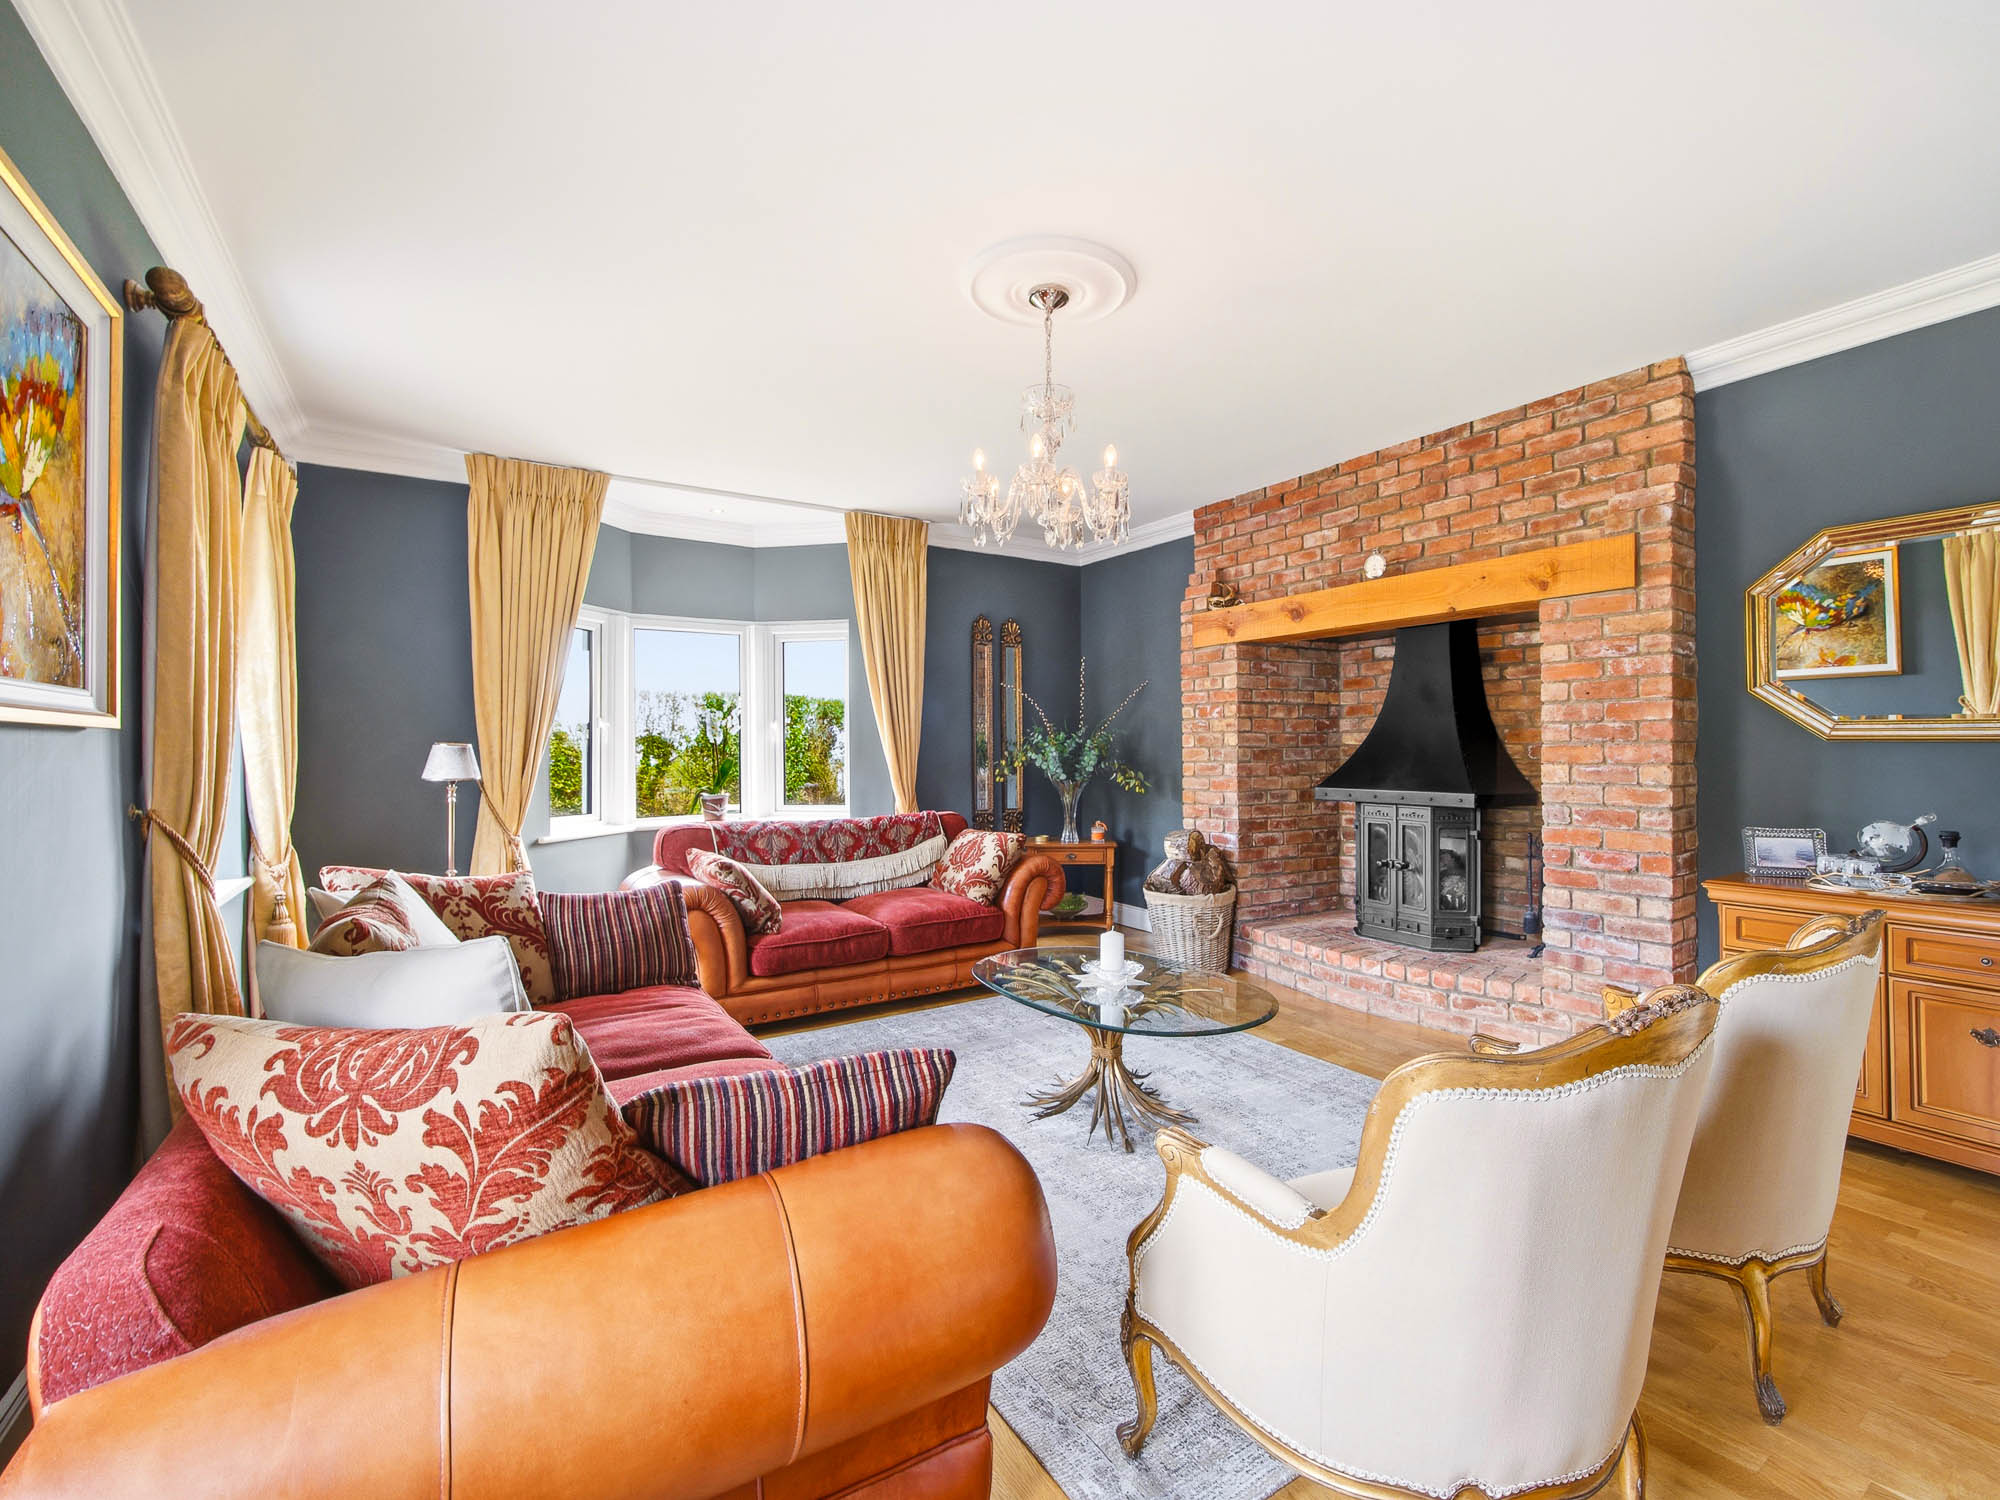
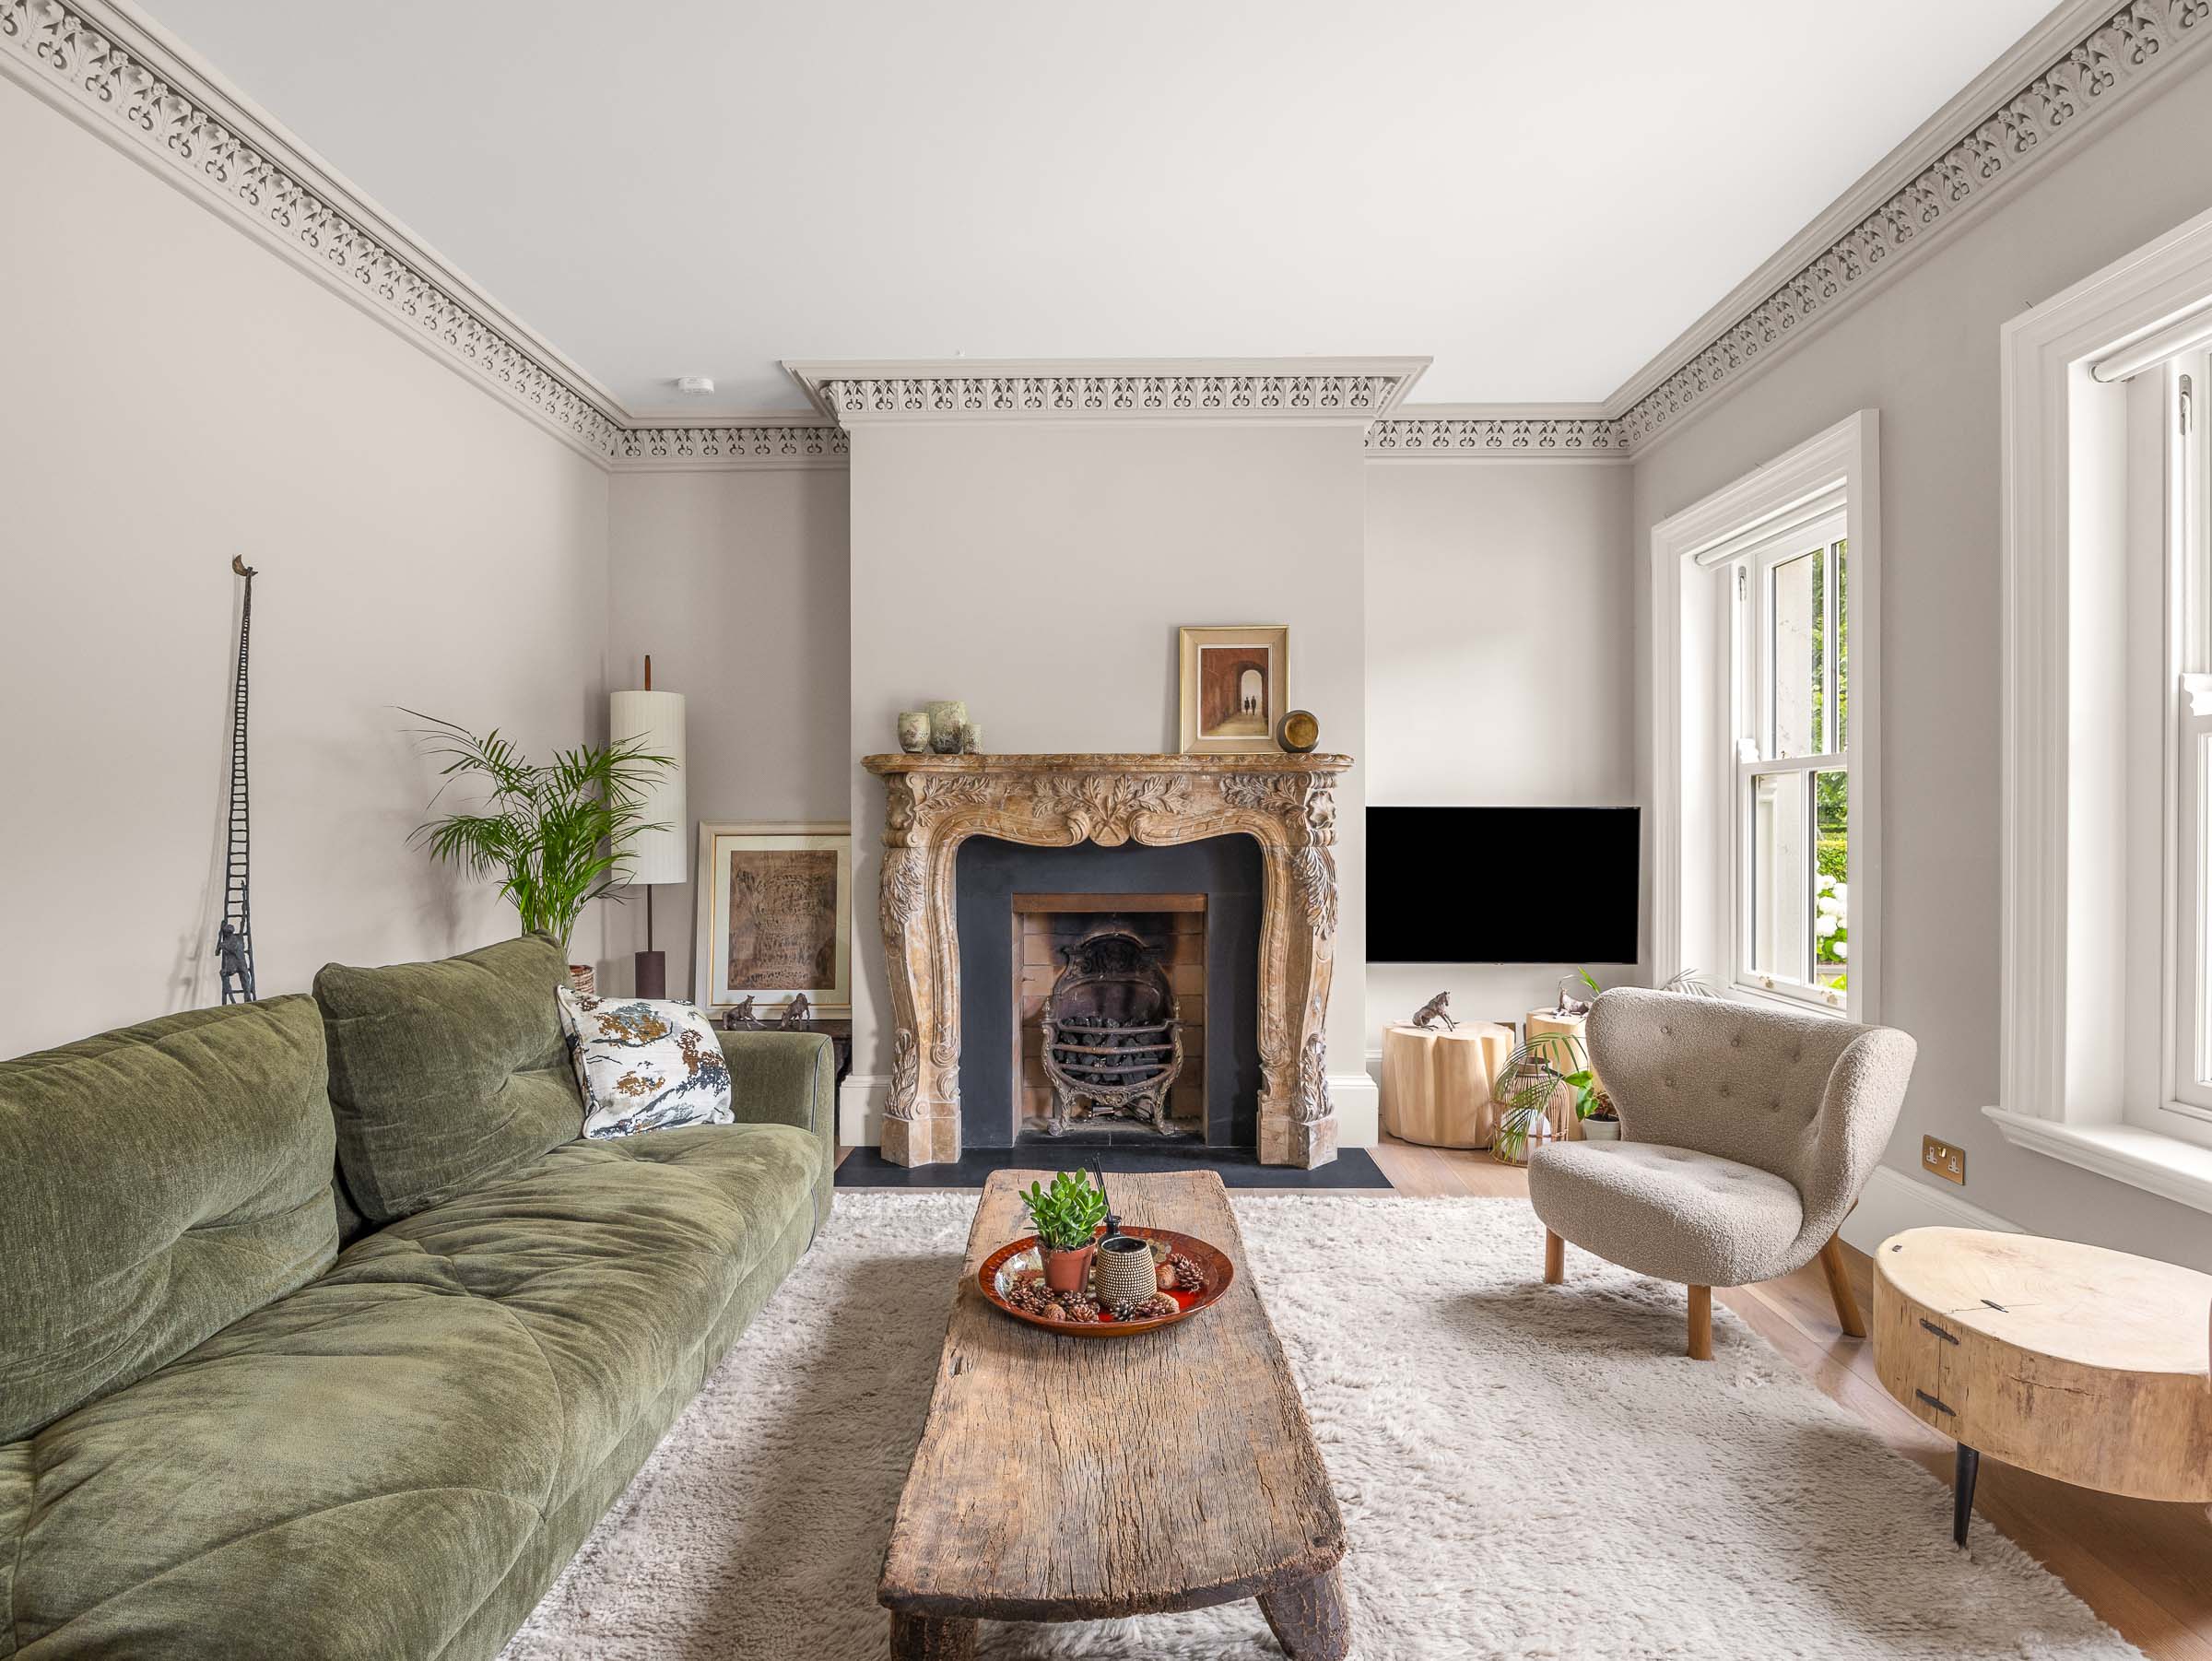
04 — Living Room

Calm, Clean
and Considered.

  • Declutter all surfaces. Coffee tables, side tables and shelves should be clear or minimally styled.

  • Plump and arrange cushions and throws neatly.

  • Switch off the TV and remove remote controls, chargers and any everyday items that don't add to the feel of the room.

Living Room Living Room

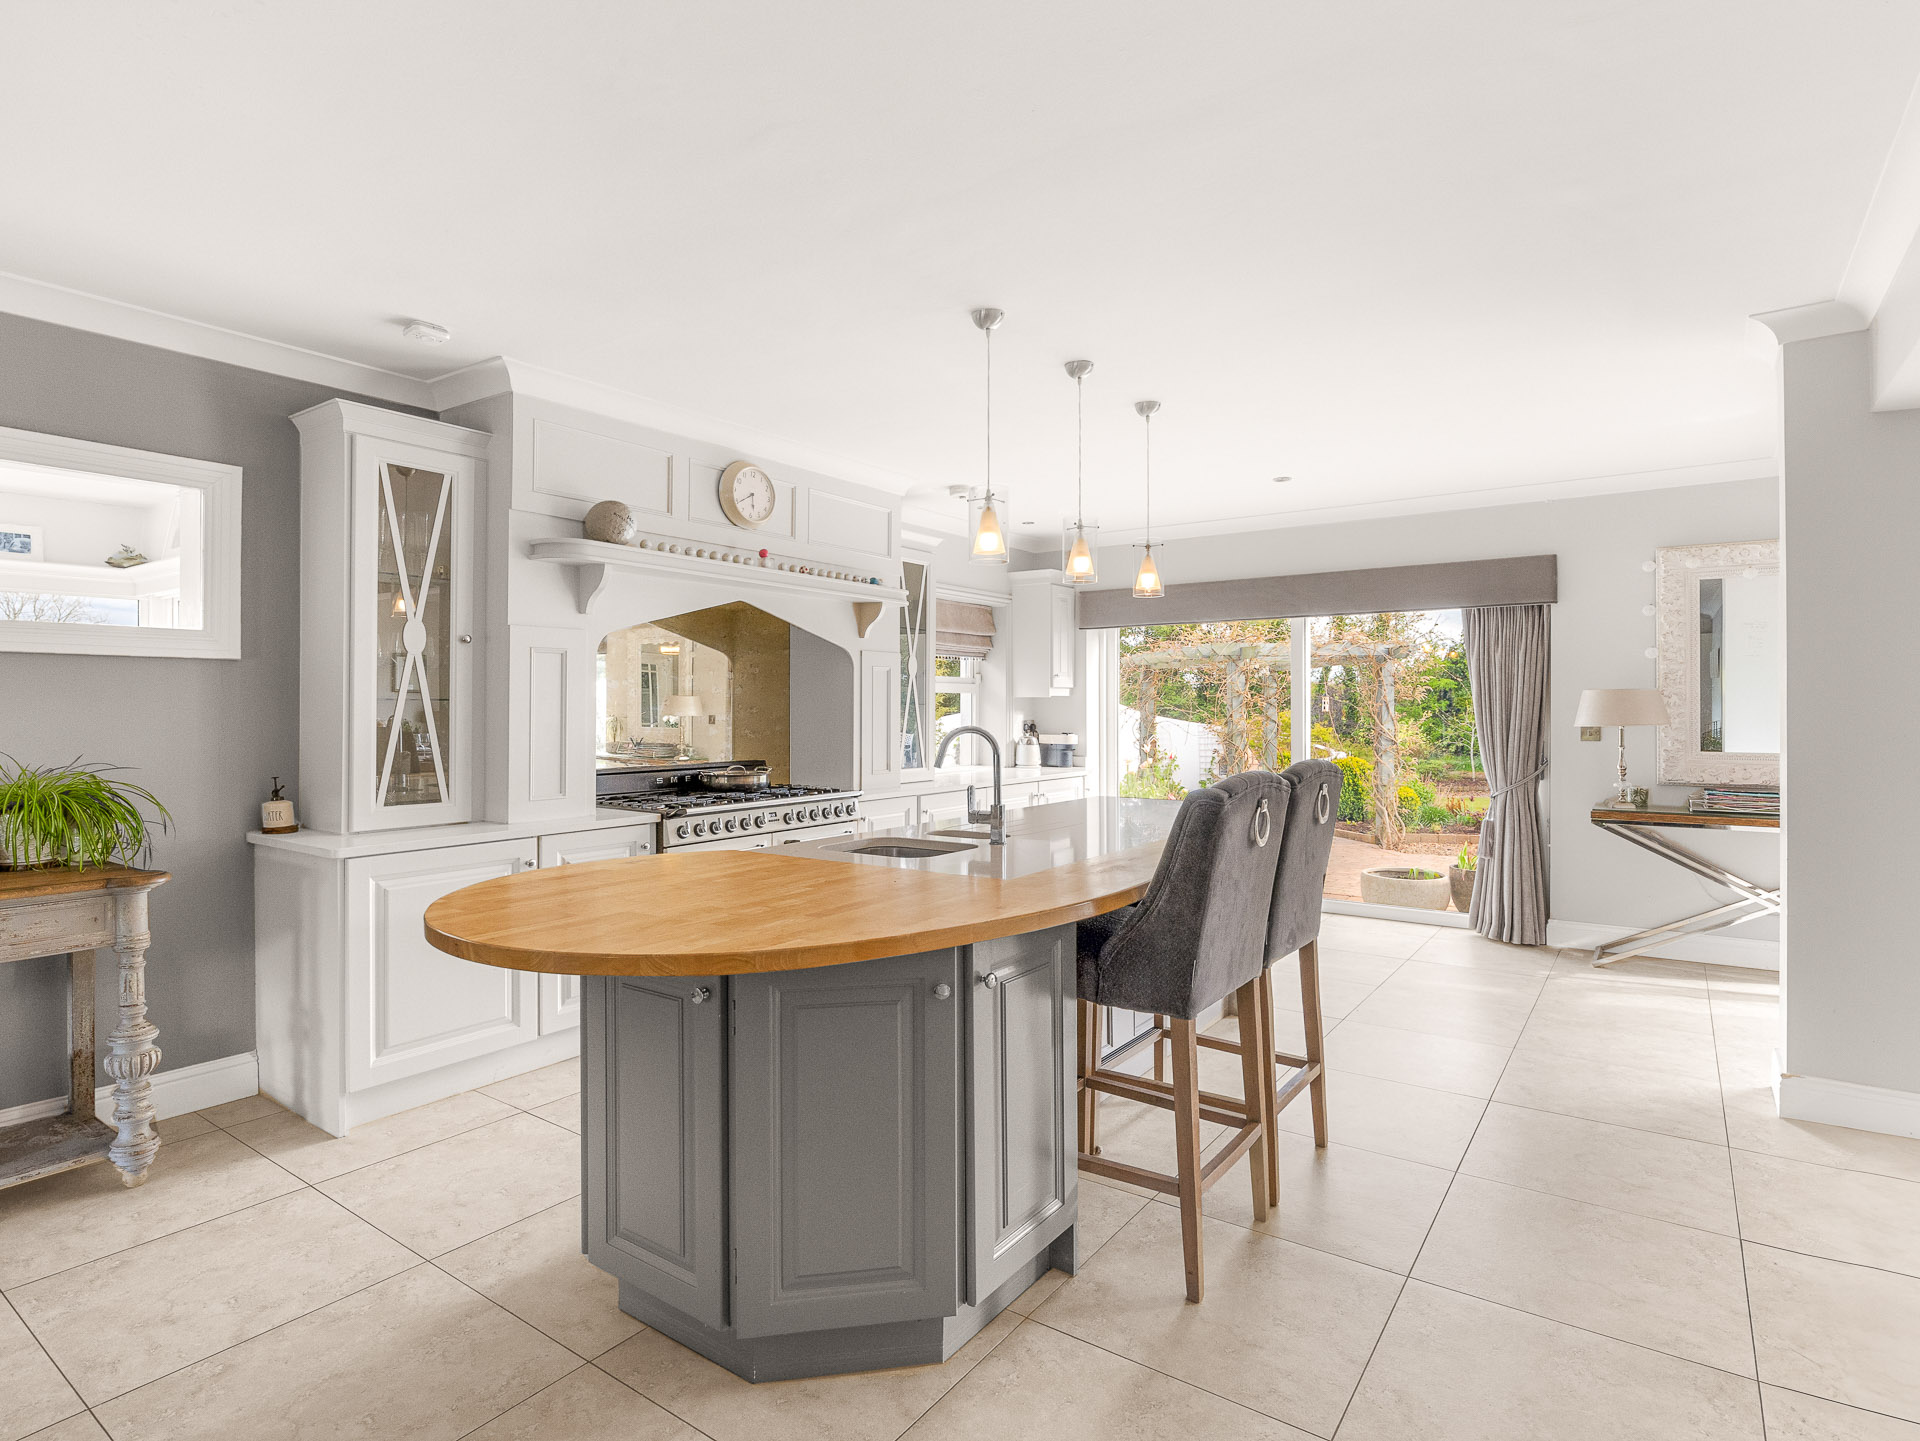
05 — Kitchen

The Heart of the Home.

  • Ensure all dining areas, breakfast bars and islands are completely clear of clutter.

  • Keep worktops as clear as possible. The kettle and toaster are fine to leave, but remove all other small appliances and utensils.

  • Clear and tidy the area around the sink, removing all washing-up liquid, cloths and cleaning items.

  • Remove fridge magnets, notes and notice boards from view.

  • Clear anything stored on top of kitchen presses, as these are often visible from certain angles.

Kitchen Kitchen

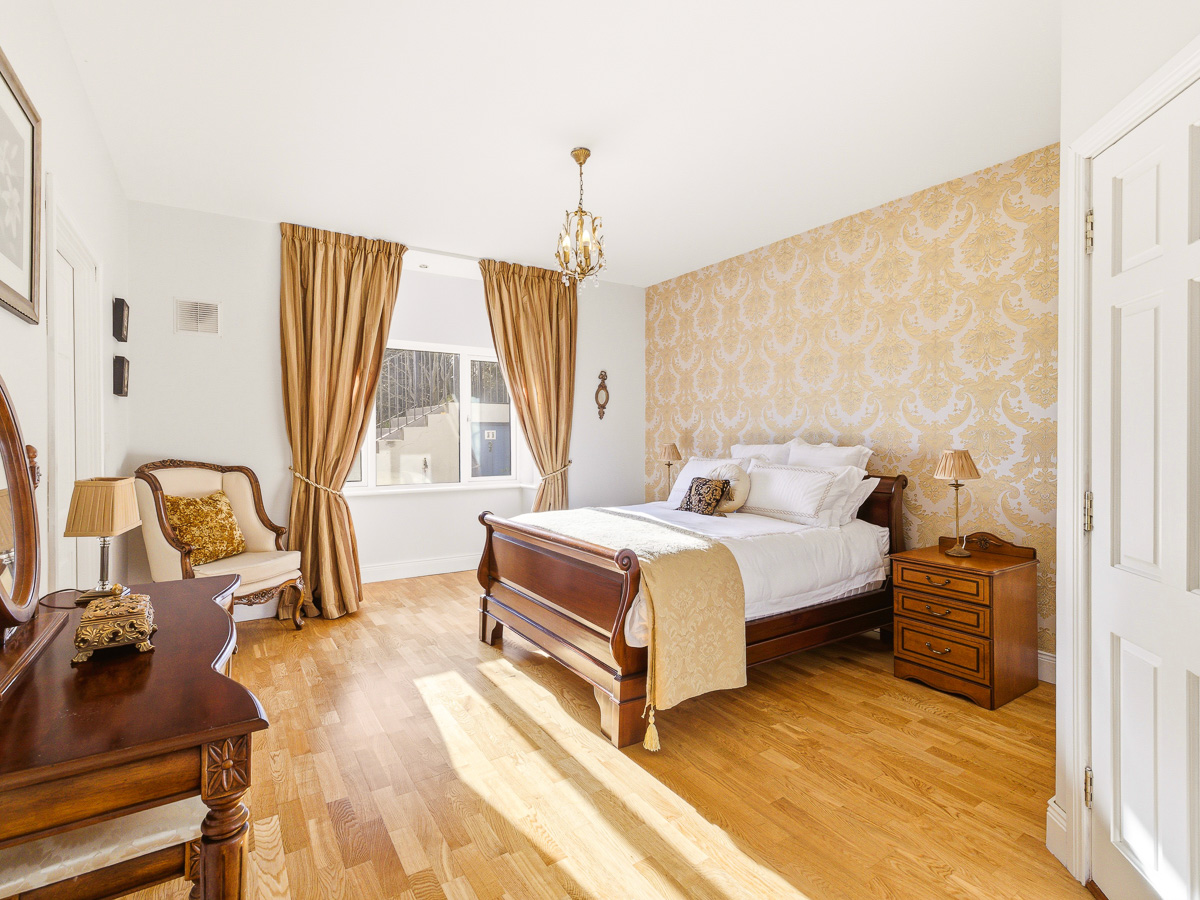
06 — Bedrooms

A Place to Rest and Reset.

  • Dress the beds neatly. Straighten duvets, arrange pillows and ensure everything looks fresh and inviting.

  • Declutter bedside tables, desks and all surfaces. Clear floors of any items and ensure the room feels open and tidy.

  • Remove clothes, towels and dressing gowns from behind doors and visible hanging spaces. We photograph bedrooms from multiple angles, capturing doors open or closed depending on what works best for each shot.

Bedroom Bedroom

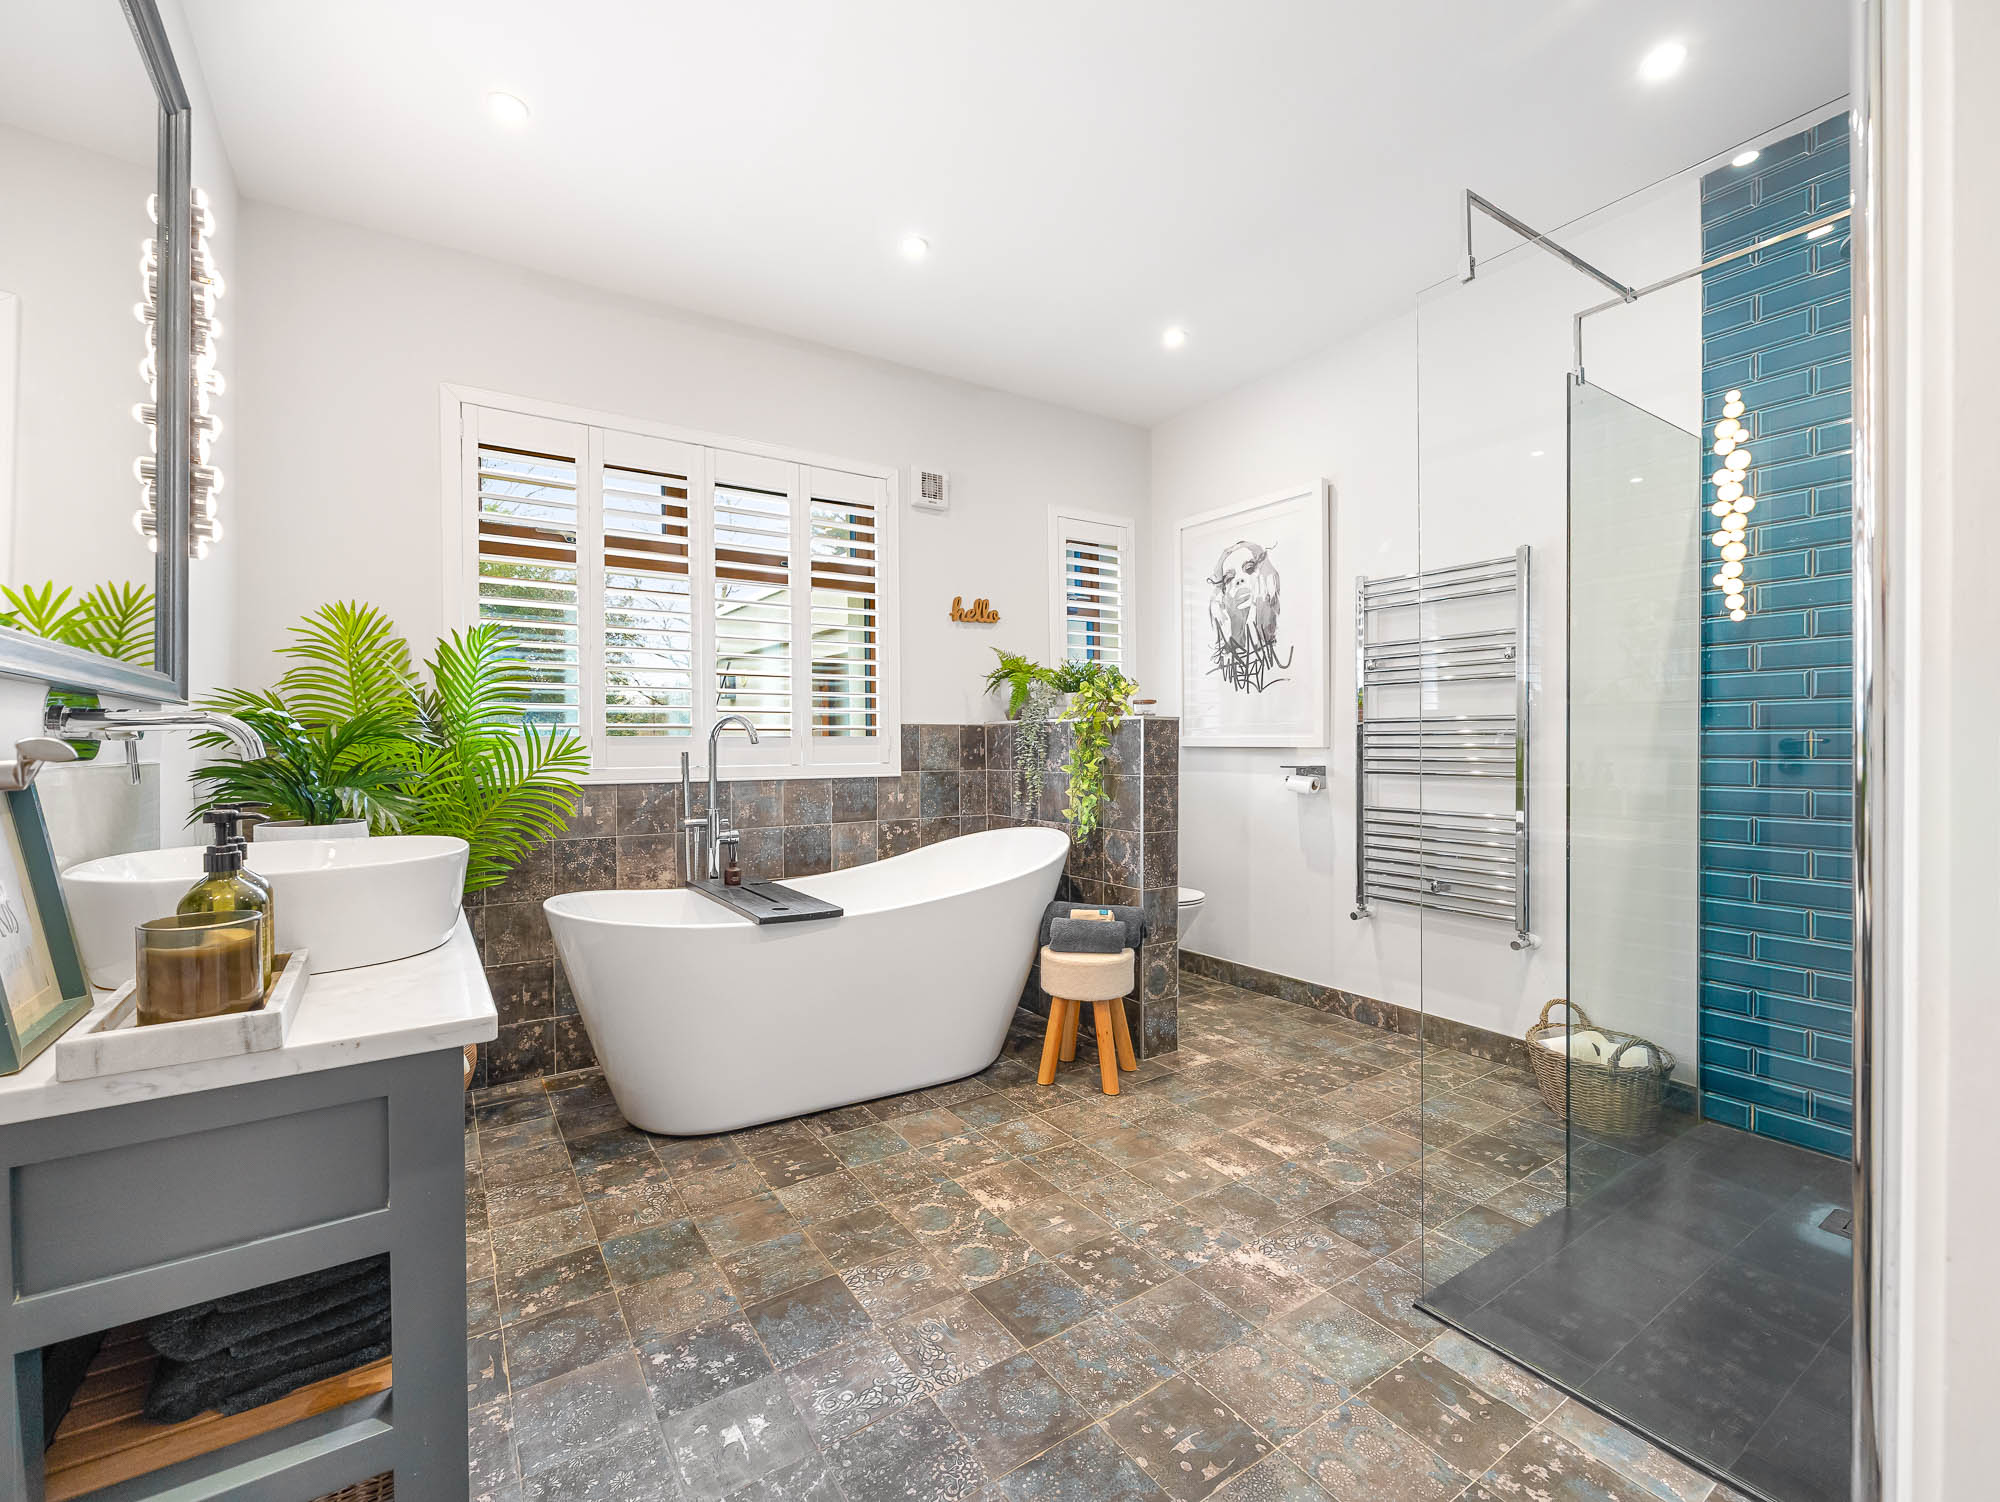
07 — Bathrooms

Less is More in the Bathroom.

  • Remove bins and toilet brushes from sight.

  • Clear the bath and shower area of most bottles, sponges and accessories. One or two nicely presented products are absolutely fine to leave.

  • Tidy the area around the sink. One soap dispenser is all that needs to stay.

  • Remove bath mats and shower mats. Clear floor space photographs far better and makes the room feel larger.

Bathroom Bathroom

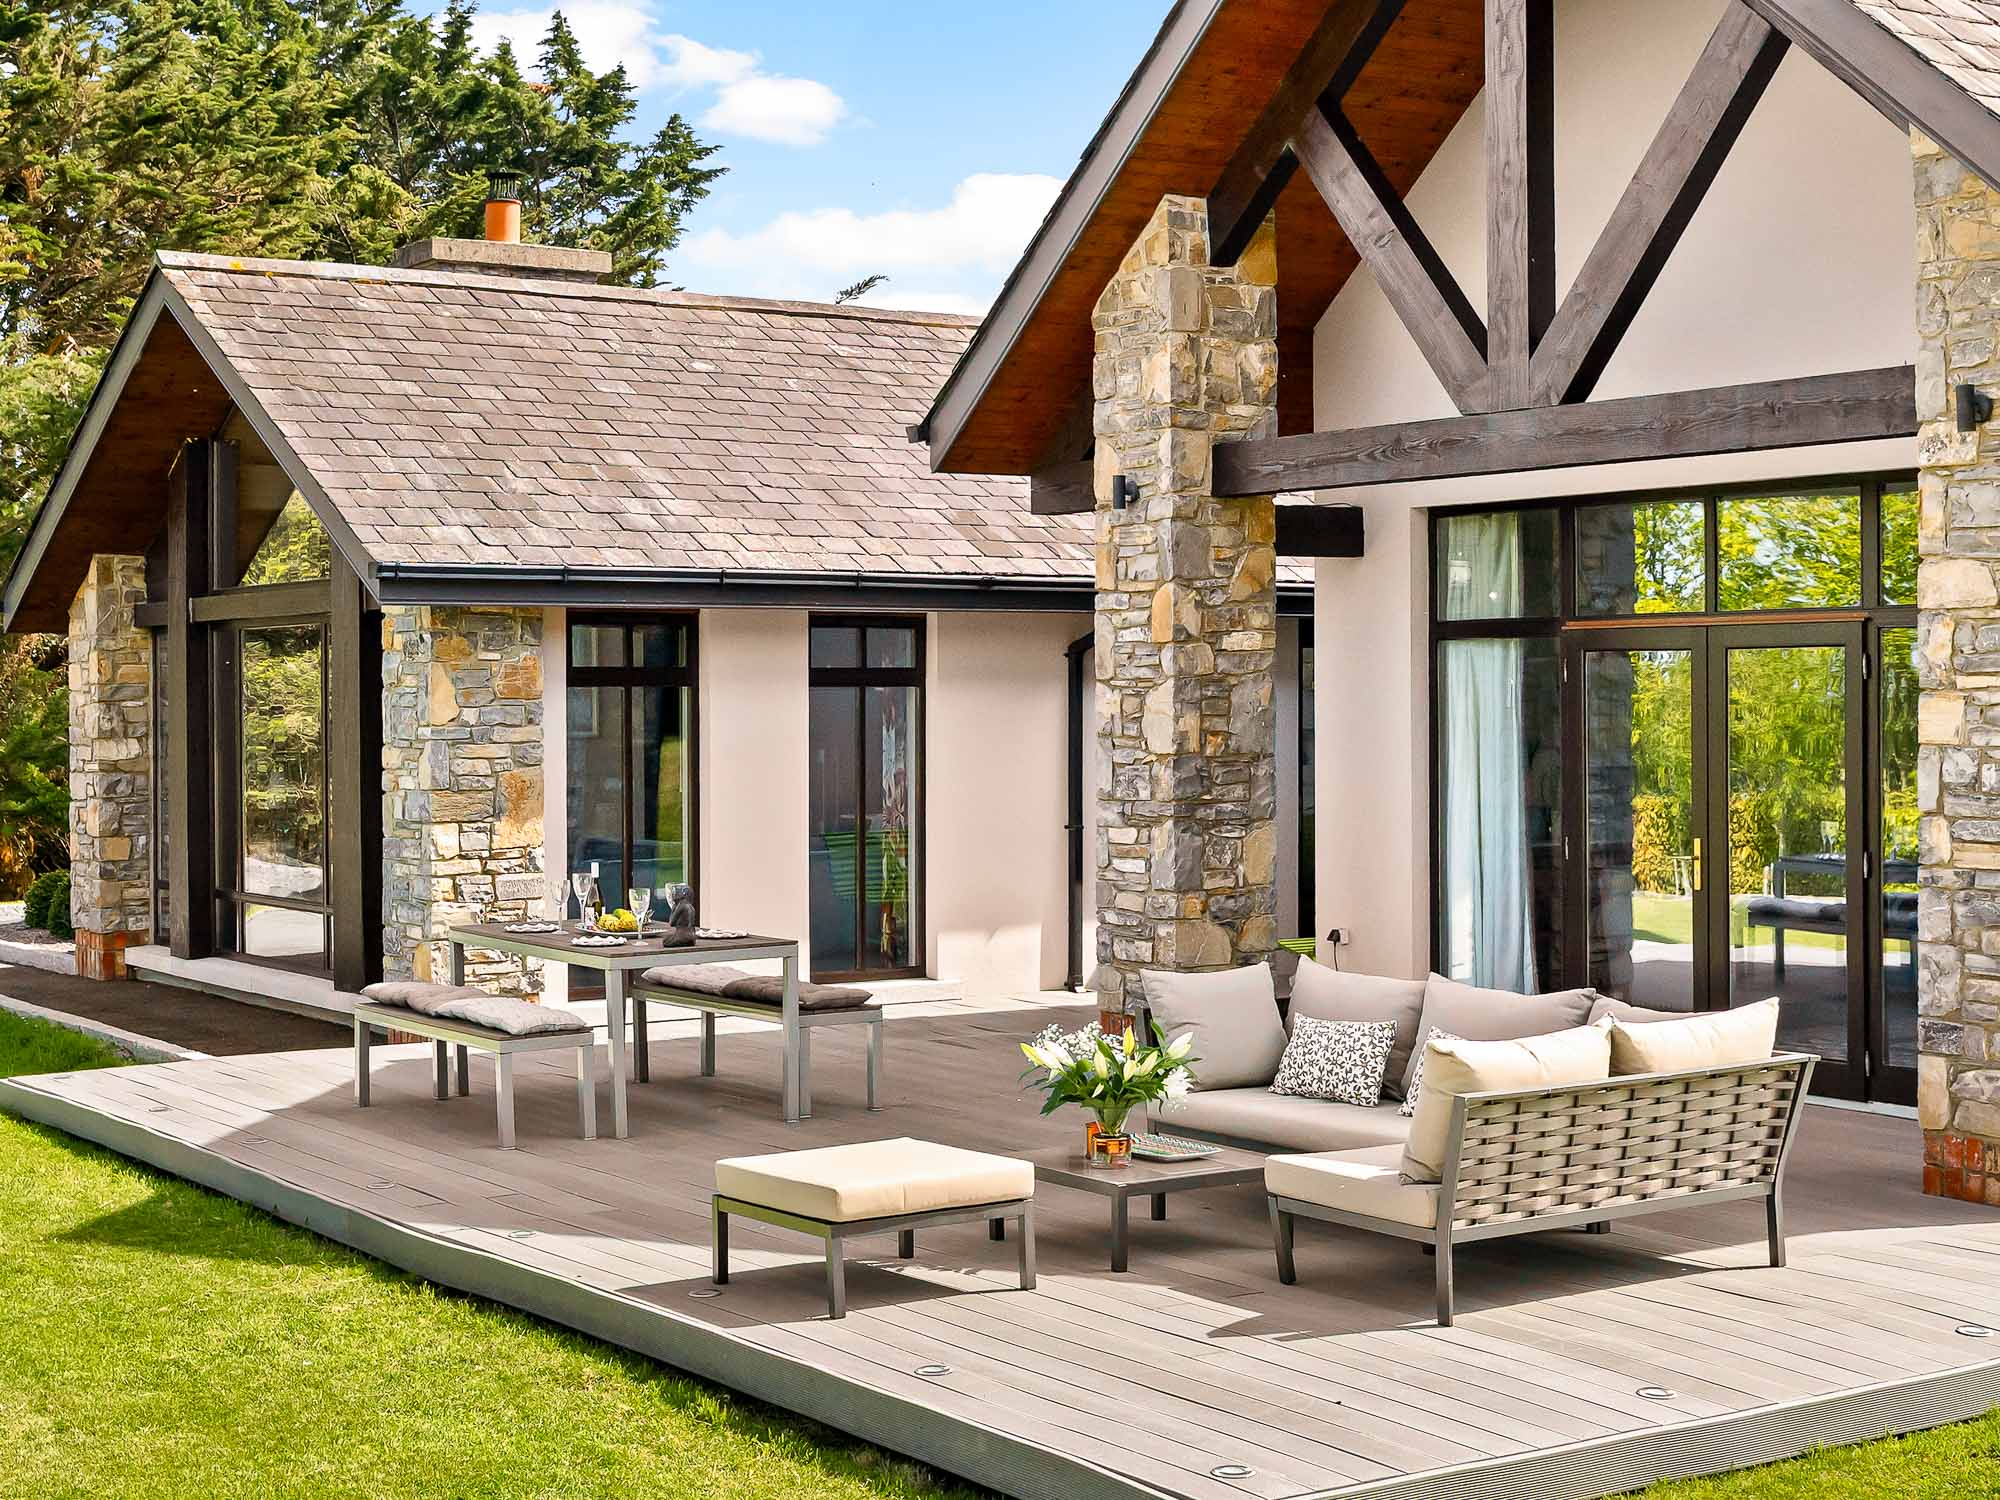
08 — Garden & Balcony

An Outdoor Space
Worth Showing.

  • Set out any garden furniture to showcase the outdoor living space at its best.

  • Remove large items such as bicycles, dog kennels and garden equipment from view.

  • Remove any BBQ covers. A clean BBQ looks far better in photographs than a covered one.

  • Take down trampolines, goalposts and play equipment where possible, or move them out of frame.

  • Tidy away outdoor toys and any items that don't contribute to the overall appearance of the outdoor space.

Garden Garden

Shoot Day

Your Complete Checklist

Tick off each item as you prepare. Aim for 100% before we arrive.

Front Exterior

Objects & vehicles removed from front
Grass cut & driveway swept/powerwashed
Potted plants added to entrance
Outdoor lights working

General Interior

All bulbs working
Blinds up & curtains fully opened
Toys & pet items removed
Shoes, coats & doormats removed from hall
Fresh flowers or plants added

Living Room

All surfaces decluttered
TV switched off
Remotes & chargers removed
Cushions & throws arranged neatly

Kitchen

Dining areas & island cleared
Worktops cleared
Sink area cleared
Fridge magnets & notice boards removed
Above presses cleared

Bedrooms & Bathrooms

Beds dressed neatly
Surfaces & floors decluttered
Clothes & towels hidden
Bins & toilet brushes removed
Bath & shower cleared
Bath mats & shower mats removed
One soap dispenser left at sink

Garden & Balcony

Garden furniture set out
Bikes, kennels & equipment removed
BBQ cover removed
Trampolines & goalposts moved
Outdoor toys tidied away

Progress: 0 / 0 complete

0%